LXDE: A lightweight desktop environment for Linux. There are other DEs to choose from (e.g. Gnome, KDE, XFCE, etc.) but for this tutorial we are going to use LXDE.
Openbox: Openbox is an opensource and light-weight window manager for Unix/Linux system.
SLiM: Or Simple Login Manager, is also a lightweight login manager for Linux.
This is quite a long process so please bear with me. I’ve grouped the whole installation process into 3 stages, provided 1 stage for the configuration, and I’ve also provided some sample configuration files at the end of the tutorial.
STAGE 1: Modifying Mirrorlist and Installing Input Drivers
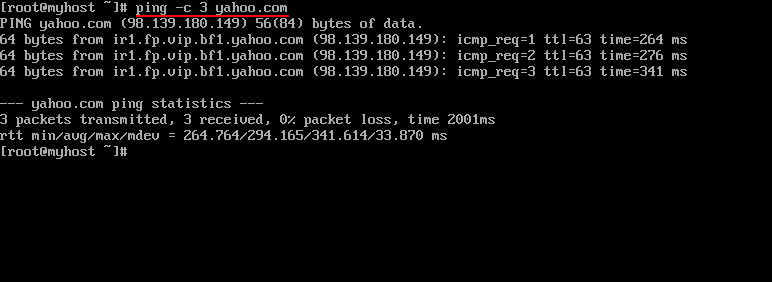
# ping -c 3 yahoo.com
This should return 3 ping results with 0% packet lost.
# dhcpcd eth0
# pacman -Syu

Initialize Pacman Keyring
To initialize and setup pacman keyring, simply type:
# pacman-key –init

You may want to move to another TTY and run:
# cat /dev/urandom
This would help generate more random bytes for generating pacman keychain.
Modify Mirrorlist File
# pacman -S reflector
After you have installed reflector, backup your mirrorlist file by running this command:
# cd /etc/pacman.d
# cp mirrorlist mirrorlist.backup
Then using reflector, modify your mirrorlist by typing:
# reflector -c %own% -f 6 > mirrorlist
The ‘-f 6‘ option means to get the 6 fastest mirrors close to your country (-c %own%). Again, don’t forget to sync and update your system after you finished modifying your mirrorlist:
# pacman -Syu
I strongly suggest you reboot after this second update. Just type:
# reboot

Install Input Drivers
To install input drivers, just type:
# pacman -S xf86-input-evdev alsa-plugins alsa-utils pulseaudio mesa mesa-demos libgl dbus consolekit

STAGE 2: Creating a Sudoer and Installing X
To install sudo, just type:
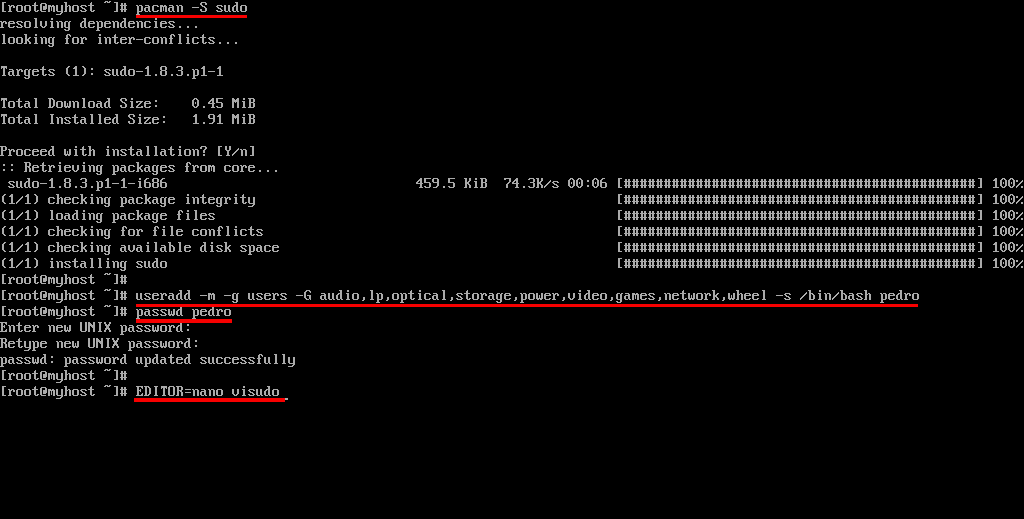
# pacman -S sudo
To use and run the command, just type:
# EDITOR=nano visudo
Now, we can edit the sudoer file – with the help of visudo – using the nano editor.
NOTE: As you can see with the useradd command above, we have also added our username pedro to the wheel group, which group we can see inside the sudoer file.

To enable regulars users to run programs as root using sudo, simply uncommenting the ‘wheel‘ group would do the trick. After uncommenting, the line should now look like this:
%wheel ALL=(ALL) ALL
Installing X (Xorg Server)
Now, we are going to install X. For more information about X, please visit this link.
To install X, simply type and run this command:
# pacman -S xorg xorg-server xorg-xinit xorg-utils xorg-server-utils xorg-twm xterm xorg-xclock
When asked to enter a selection, just enter all for default.

After you have installed X, we can now run a simple test to see if we have installed it successfully. To do that just type in this simple command:
# startx
STAGE 3: Installing A Graphical Environment (GUI) and Other Important Plugins
Now we’ve come to the fun part – installing graphical user interface such as LXDE or Linux X11 Desktop Environment.
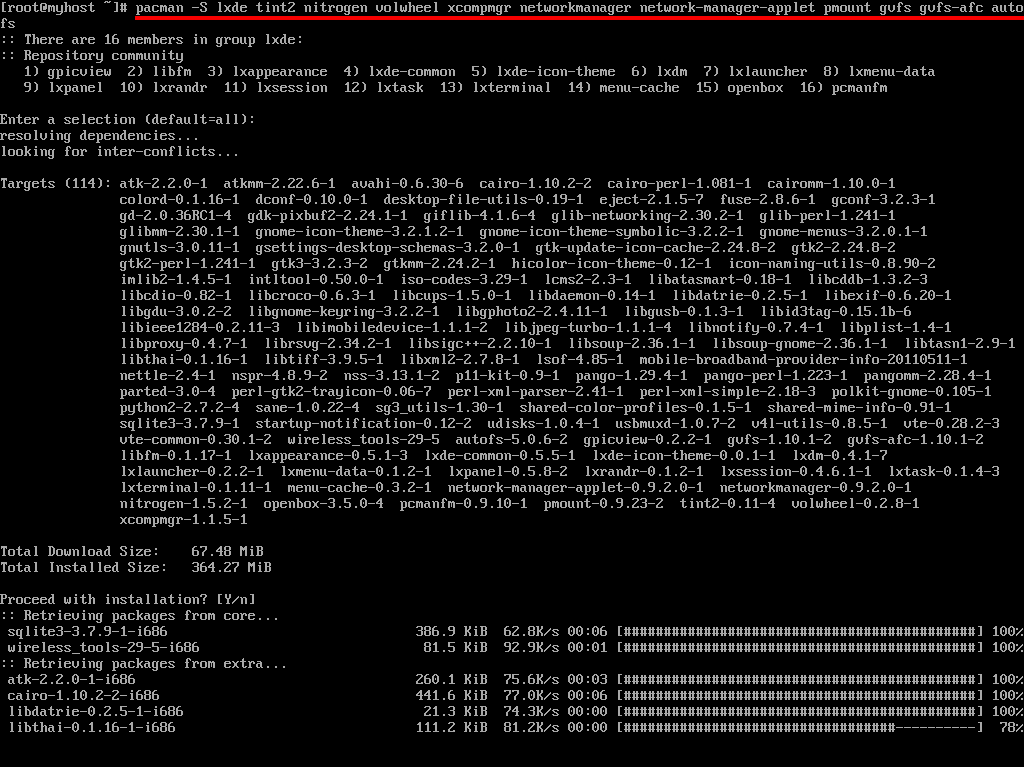
To install LXDE, along with other tools that we needed to setup our desktop environment, simply type and run this command:
# pacman -S lxde tint2 nitrogen volwheel xcompmgr networkmanager network-manager-applet gvfs gfvs-afc autofs
# su – pedro
Since you are root before you switch to pedro, you dont have to enter you password to do this.
Now, to go to your LXDE desktop, just type:
$ xinit startlxde
If you have installed LXDE successfully, you should be able to see something like the image below:
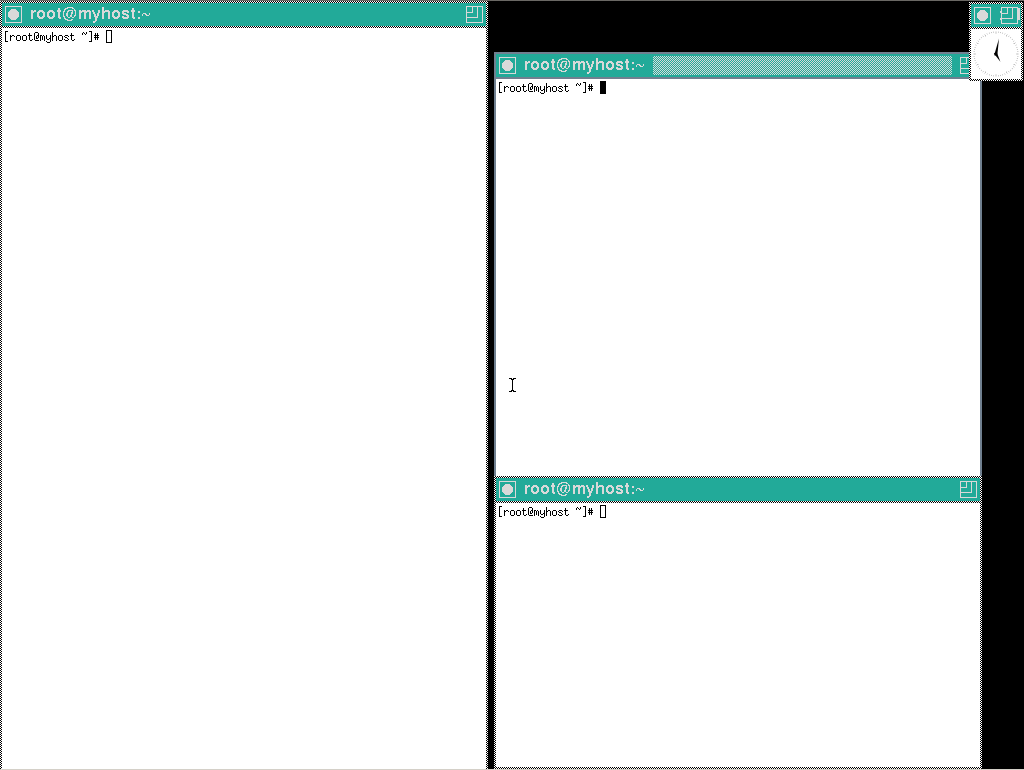
To see and experience the Openbox interface, you need to run the openbox-session, but first you need to logout from the LXDE desktop interface. Then in your TTY type:
$ xinit /usr/bin/openbox-session
You should be able to see the empty darkgray canvass-like Openbox desktop with nothing but a simple openbox menu template that you can see when you right-click on it.

Congratulations! You have successfully setup and built your very own Arch Linux with Openbox running the LXDE desktop environment 🙂
SYSTEM CONFIGURATION
$ mkdir -p ~/.config/openbox
$ cp /etc/xdg/openbox/* ~/.config/openbox
And for the pcmanfm file manager config:
$ sudo mkdir -p /usr/share/lxde/pcmanfm
$ sudo cp -a /etc/xdg/pcmanfm/default/pcmanfm.conf /usr/share/lxde/pcmanfm/pcmanfm.conf
Now, we are going to install some openbox tools that we need. Just type:
$ sudo pacman -S obmenu obconf openbox-themes obtheme pyxdg

This would install the obmenu, which is the GUI menu editor for Openbox, obconf, which is the openbox GUI configuration tool, also some openbox themes package and pyxdg, which is an xdg python library.
After you have installed these tools, we can now start by configuring your openbox menu. Again in Xterm, just type:
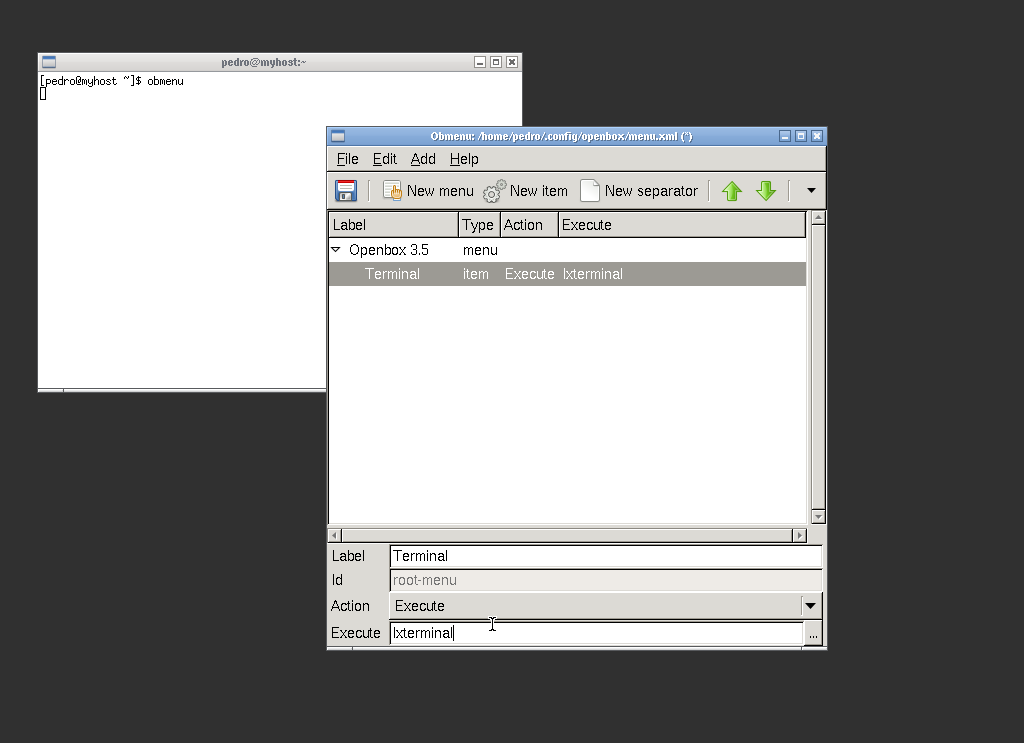
$ obmenu
This would launch the openbox GUI menu editor (just like your see in the image below).

Openbox GUI menu editor interface is actually very simple. What it does is, instead of manually coding and editing your openbox menu.xml file inside ~/.config/openbox folder – we use obmenu.
Now, what we’re going to do here, is basically, remove all the default menu items listed in our menu.xml file, and then recreate menu items from scratch. This way we can create menu items, that’s really needed for our setup – nothing more.
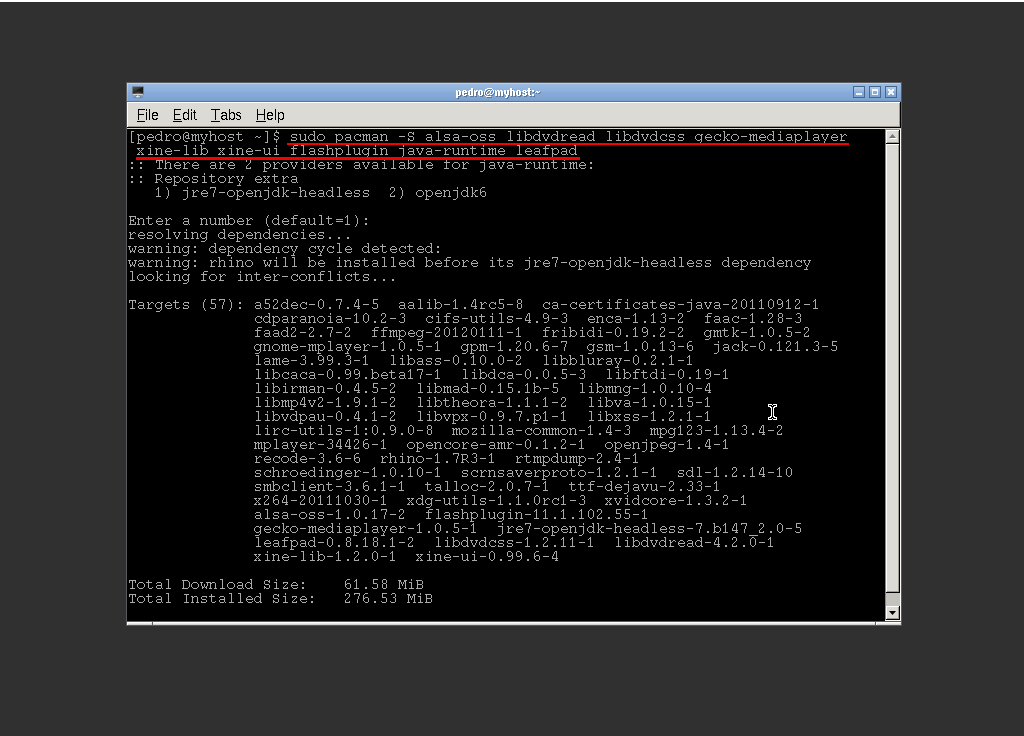
$ sudo pacman -S alsa-oss libdvdread libdvdcss gecko-mediaplayer xine-lib xine-ui flashplugin java-runtime leafpad
Then after that, install some descent looking fonts:
$ sudo pacman -S ttf-dejavu ttf-ubuntu-font-family

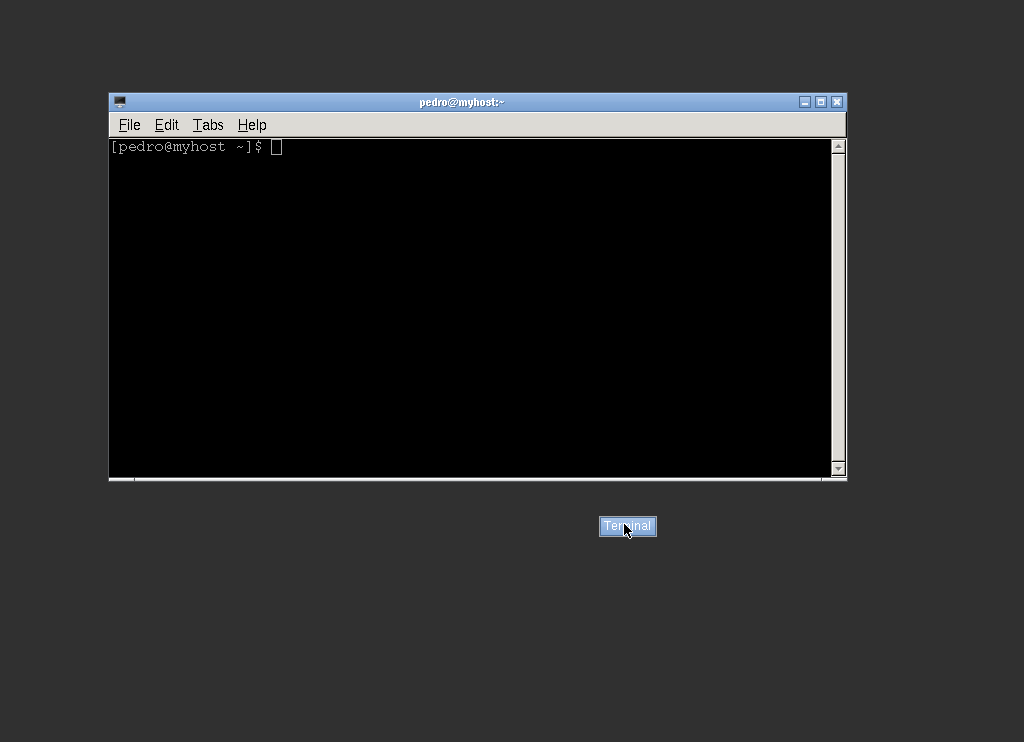
Now, you can further more edit your openbox menu by refering to the image reference below:

Now, so much for the menu. We are now going to throw some of the basic stuff we need in our empty desktop, such as some background image, taskbar panel, some system tray icons, etc. We start with the taskbar – tint2.
tint2
$ tint2 &
You can automatically run tint2 at startup by adding this line:
tint2 &

nitrogen
Nitrogen is a fast and lightweight desktop background browser and setter for X windows. To start nitrogen and place a good looking background for your desktop using your terminal just type:
$ nitrogen
For this, you may want to download some images first using a web browser. To install firefox browser, just type:
$ sudo pacman -S firefox
After you have created a desktop background, you can automatically run nitrogen at startup and restore your background image by adding this line to your autostart file:
nitrogen –restore &

VolWheel
VolWheel is a simple tool that place an icon in your system tray. It’s used to adjust the sound of your default sound server. Before we can start volwheel, first we need to start alsa which is currently disable. To enable alsa, just type in your terminal:
$ sudo rc.d start alsa
Then include alsa in the daemons line of your rc.conf file (/etc/rc.conf) to automatically run alsa at startup.
Then setup your asound.state file using the alsactl command. To do that, just run this simple command:
$ sudo alsactl -f /var/lib/alsa/asound.start store
This command will generate a file called asound.state file, which will restore your previous sound settings at startup.
After that, we can now start and run volwheel in your system tray. In your terminal, just type:
$ volwheel &
You can also add this same line of command (without the $ sign of course) in your autostart file to automatically run volwheel at start-up.

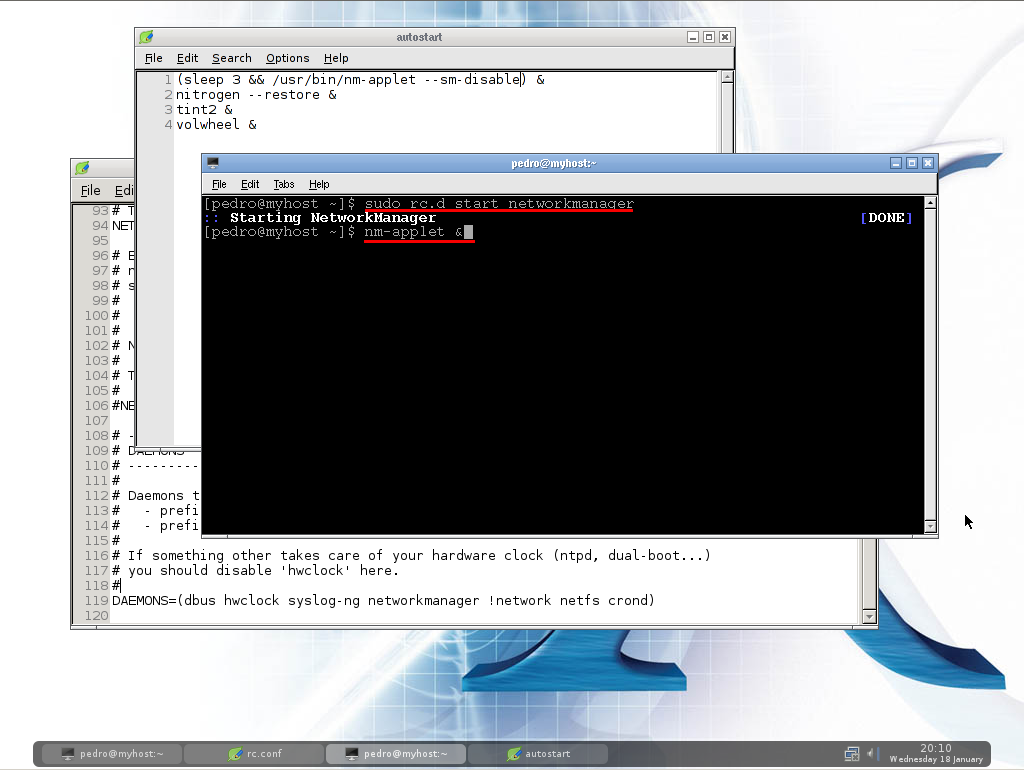
nm-applet (Network Manager Applet)
nm-applet is the simple tray icon that indicates your network connections. Before we start nm-applet, first we need to start network manager. To do that just type:
$ sudo rc.d start networkmanager
You also need to include networkmanager right before network, in the daemons line of your rc.conf file.
Then you can start nm-applet by typing:
$ nm-applet &
Running this command my not run your network icon the way it should right away. It’s alright, to fix that and to automate nm-applet at startup, simply add this line at the top of your autostart file:
(sleep 3 && /usr/bin/nm-applet –sm-disable) &
On your next startup, network manager icon should now run the way it should.
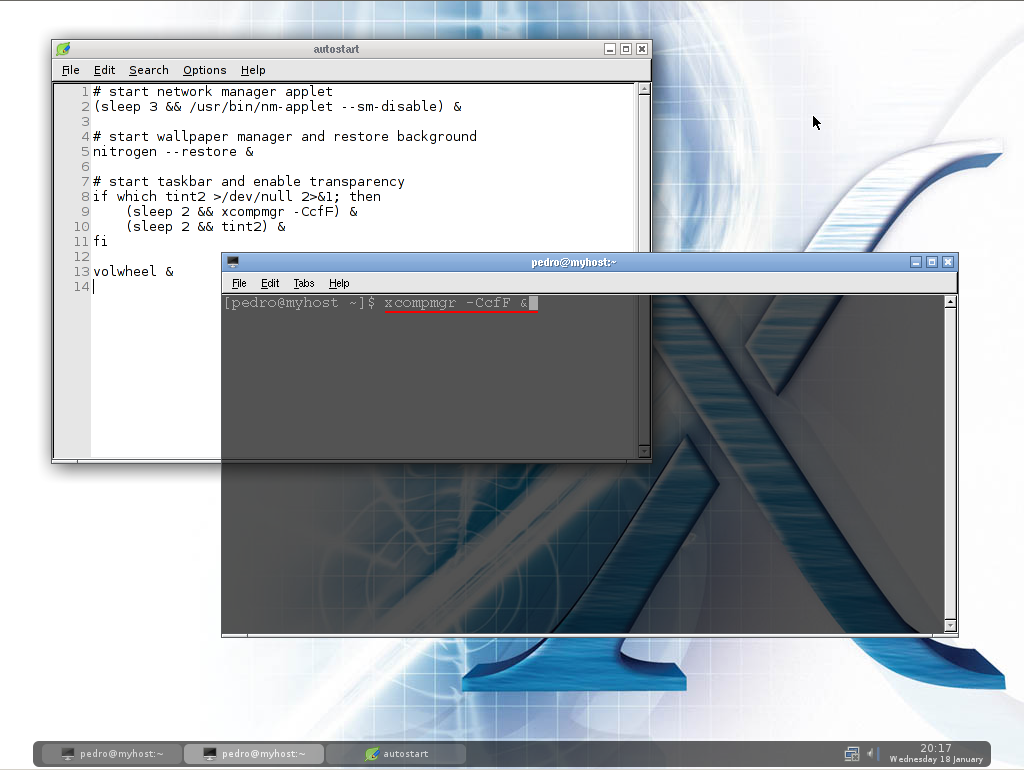
xcompmgr
Xcompmgr is a simple composite manager, capable of rendering dropdown shadows and window transparency. You can start xcompmgr using the terminal by typing:
$ xcompmgr -CcfF &
or adding the exact same line (without the $ sign) to your autostart file to automate dropdown shadows and transparency at start up.
Installing SLiM
SLiM or Simple Login Manager is a simple and lightweight login manager for Linux. To install SLiM, along with some slim theme packages, just type:
$ sudo pacman -S slim archlinux-themes-slim slim-themes
Before you can run slim, you need to edit the slim.conf config file (/etc/slim.conf). Please refer to the final slim.conf file below. You can automate SLiM by adding it to your rc.conf‘s daemons line.
NOTE: Make sure the your login manager, such as SLiM, is located at the end of your daemons line, to prevent some unnecessary boot-up problems.


SAMPLE CONFIGURATION FILES
autostart (~/.config/openbox/autostart)
(sleep 3 && /usr/bin/nm-applet –sm-disable) &
nitrogen –restore &
if which tint2 >/dev/null 2>&1; then
(sleep 2 && xcompmgr -CcfF) &
(sleep 2 && tint2) &
fi
volwheel &
.xinitrc (~/.xinitrc)
#!/bash/sh
import DE=lxde
exec ck-launch-session dbus-launch
exec lxsession -e LXDE -d openbox-session -a
rc.conf (/etc/rc.conf)
By default your rc.conf’s file DAEMONS line looks like this:
DAEMONS=(hwclock syslog-ng network netfs crond)
After we have setup up everything, your DEAMONS line should now look exactly like this:
DAEMONS=(dbus hwclock syslog-ng networkmanager !network netfs crond autofs @alsa slim)
The apostrophe (!) before the network means it’s been disabled, we do this because since we already have put networkmanager there which now would handle all the network stuff. The at-sign by the way before alsa means alsa would be run at the background.
slim.conf (/etc/slim.conf)
The following is the configured slim.conf file. Highlighted in red are the lines I’ve edited and uncommented.
# Path, X server and arguments (if needed)
# Note: -xauth $authfile is automatically appended
default_path /usr/local/bin:/usr/bin:/bin:/usr/local/sbin:/usr/sbin:/sbin:/usr/bin/vendor_perl:/usr/bin/core_perl
default_xserver /usr/bin/X
xserver_arguments -nolisten tcp vt07
# Commands for halt, login, etc.
halt_cmd /sbin/shutdown -h 0
reboot_cmd /sbin/reboot
console_cmd /usr/bin/xterm -C -fg white -bg black +sb -T “Console login” -e /bin/sh -c “/bin/cat /etc/issue; exec /bin/login”
#suspend_cmd /usr/sbin/suspend
# Full path to the xauth binary
xauth_path /usr/bin/xauth
# Xauth file for server
authfile /var/run/slim.auth
# Activate numlock when slim starts. Valid values: on|off
numlock on
# Hide the mouse cursor (note: does not work with some WMs).
# Valid values: true|false
hidecursor false
# This command is executed after a succesful login.
# you can place the %session and %theme variables
# to handle launching of specific commands in .xinitrc
# depending of chosen session and slim theme
#
# NOTE: if your system does not have bash you need
# to adjust the command according to your preferred shell,
# i.e. for freebsd use:
# login_cmd exec /bin/sh – ~/.xinitrc %session
#login_cmd exec /bin/bash -login ~/.xinitrc %session
# Commands executed when starting and exiting a session.
# They can be used for registering a X11 session with
# sessreg. You can use the %user variable
#
# sessionstart_cmd some command
# sessionstop_cmd some command
# Start in daemon mode. Valid values: yes | no
# Note that this can be overriden by the command line
# options “-d” and “-nodaemon”
#daemon yes
# Available sessions (first one is the default).
# The current chosen session name is replaced in the login_cmd
# above, so your login command can handle different sessions.
# see the xinitrc.sample file shipped with slim sources
sessions openbox
# Executed when pressing F11 (requires imagemagick)
screenshot_cmd import -window root /slim.png
# welcome message. Available variables: %host, %domain
welcome_msg Welcome to %host
# Session message. Prepended to the session name when pressing F1
# session_msg Session:
# shutdown / reboot messages
shutdown_msg The system is halting…
reboot_msg The system is rebooting…
# default user, leave blank or remove this line
# for avoid pre-loading the username.
default_user pedro
# Focus the password field on start when default_user is set
# Set to “yes” to enable this feature
#focus_password no
# Automatically login the default user (without entering
# the password. Set to “yes” to enable this feature
#auto_login no
# current theme, use comma separated list to specify a set to
# randomly choose from
current_theme lake
# Lock file
lockfile /var/lock/slim.lock
# Log file
logfile /var/log/slim.log
That’s about it! If you have any questions about this tutorial, you can send me a message at goldenfinch.net(at)gmail(dot)com